
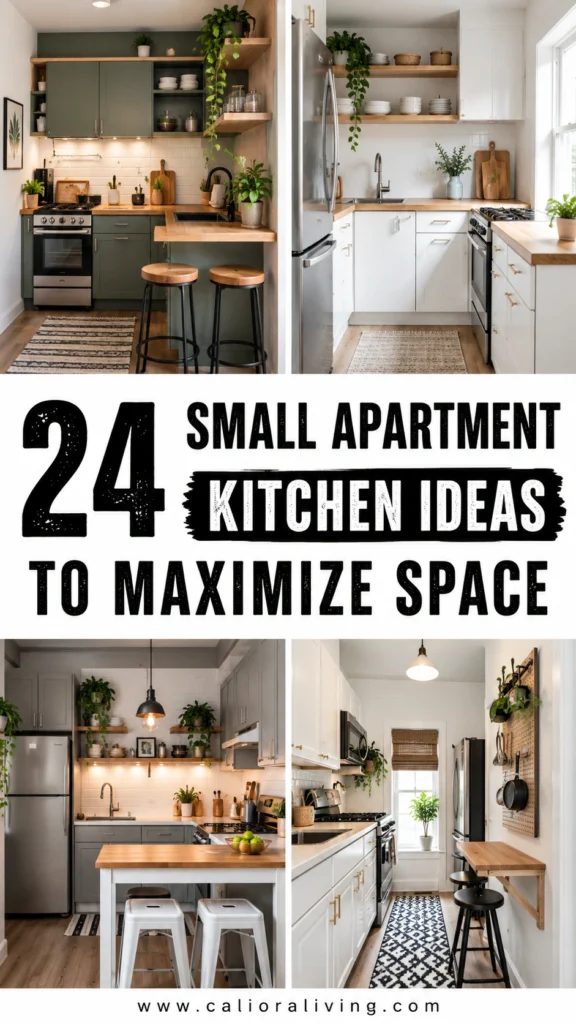

Cooking in a small apartment kitchen means doing constant math. Can the cutting board fit next to the coffee maker? If the drying rack moves, does the toaster have to move too? Most rental kitchens leave you about four inches of actual workspace once the appliances claim their spots.
You can fix that without a renovation, a bigger apartment, or your landlord’s permission. These 24 small apartment kitchen ideas do three things: add storage you don’t have, free up counter space you badly need, and make the room feel bigger than it measures. Most cost under $50, and you can finish several in one weekend.
1. Go Vertical With Open Shelving
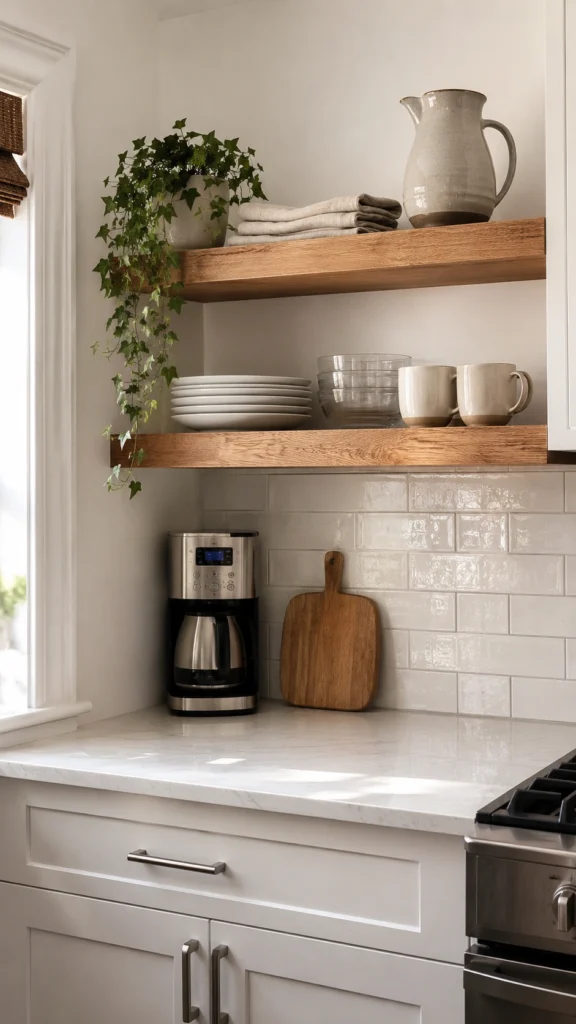
Look at the wall between your counter and the ceiling. In most rentals, it sits completely empty, and that’s the single biggest storage waste in the room. Mount one or two floating shelves there and move your everyday plates, bowls, and mugs up. You free an entire cabinet for pantry items, and grabbing a bowl takes two seconds instead of a full cabinet excavation.
Keep the bottom shelf at least 18 inches above the counter so you can still prep underneath it, and load it with pieces you use daily so dust never settles. Open shelving also has a side effect nobody mentions: since everything is on display, the chipped novelty mugs finally get donated.
2. Hang a Magnetic Knife Strip
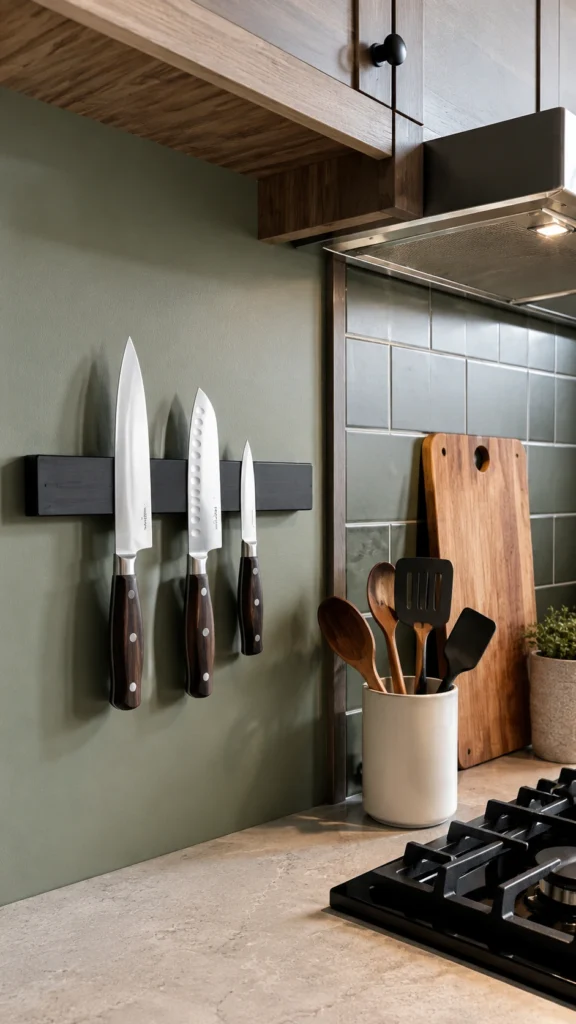
A knife block takes 5 to 6 inches of counter depth and collects crumbs in every slot. A magnetic strip on the wall holds the same knives in zero counter space and keeps the blades sharper, because they’re not knocking around in a drawer. A 16-inch strip runs $15 to $20.
If your lease bans wall holes, adhesive versions exist. They handle paring knives and mid-weight chef’s knives fine, though I wouldn’t trust one with a heavy cleaver.
3. Install a Pegboard Wall
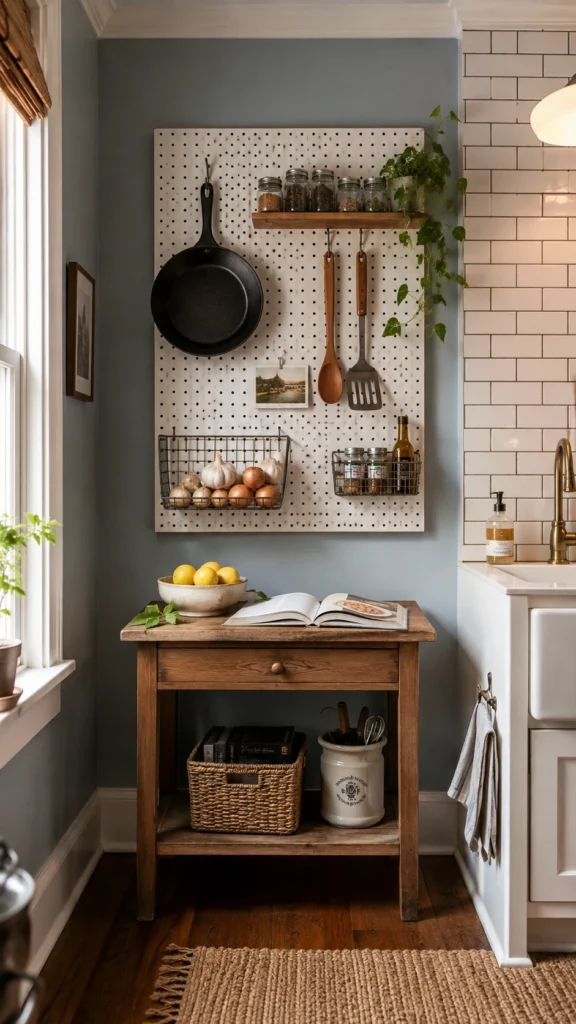
Julia Child ran her entire kitchen off a pegboard, and she cooked more than any of us ever will. One 2×4 foot board gives you roughly 8 square feet of hanging storage for pans, utensils, measuring cups, and a small shelf or two. Paint it the same color as your wall and it reads as intentional design rather than garage storage.
4. Get a Rolling Kitchen Cart
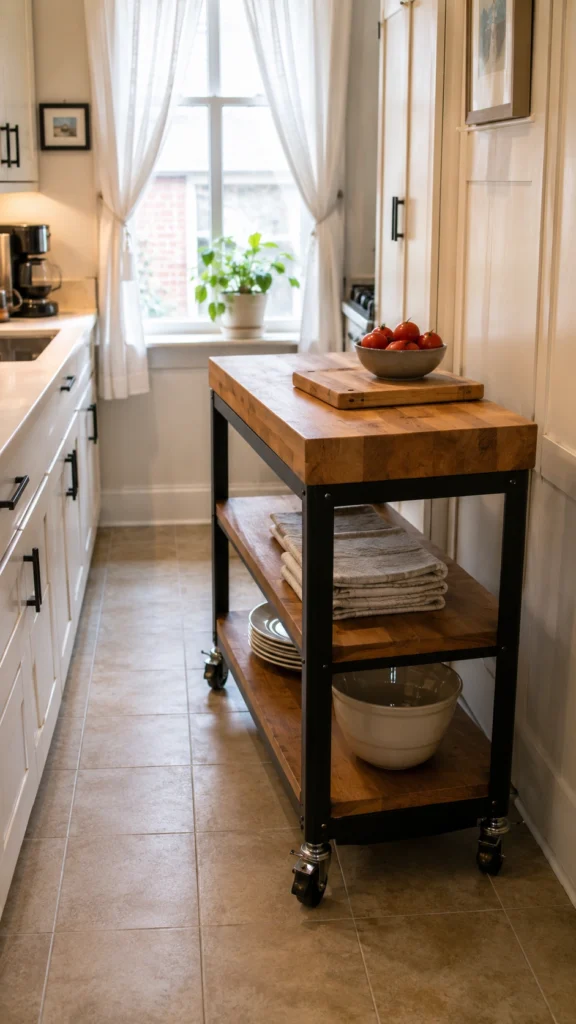
A rolling cart is the closest you’ll get to a kitchen island in 500 square feet. You gain a prep surface, two shelves of storage, and the option to push the whole thing against a wall when you need floor space back.
Measure your walkway before you buy anything. You need 36 inches of clearance to move comfortably, which means carts wider than 24 inches rarely work in a galley kitchen. People skip this step constantly and end up with a cart parked in the living room. Look for locking wheels and a butcher block top so it doubles as a cutting station, and expect to spend $60 to $150 for a solid one.
5. Use an Over-the-Sink Cutting Board
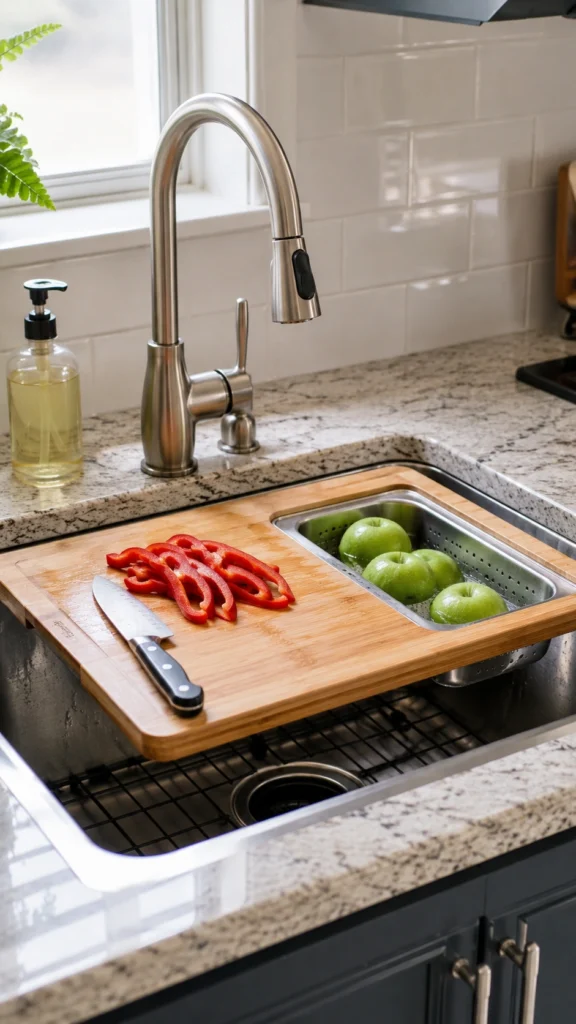
What does your sink do between dishwashing sessions? Nothing, and it’s 20-plus inches wide. An over-the-sink cutting board bridges the basin and instantly adds prep room. Some versions build in a colander section, so you rinse and chop in the same spot.
6. Add a Roll-Up Drying Rack
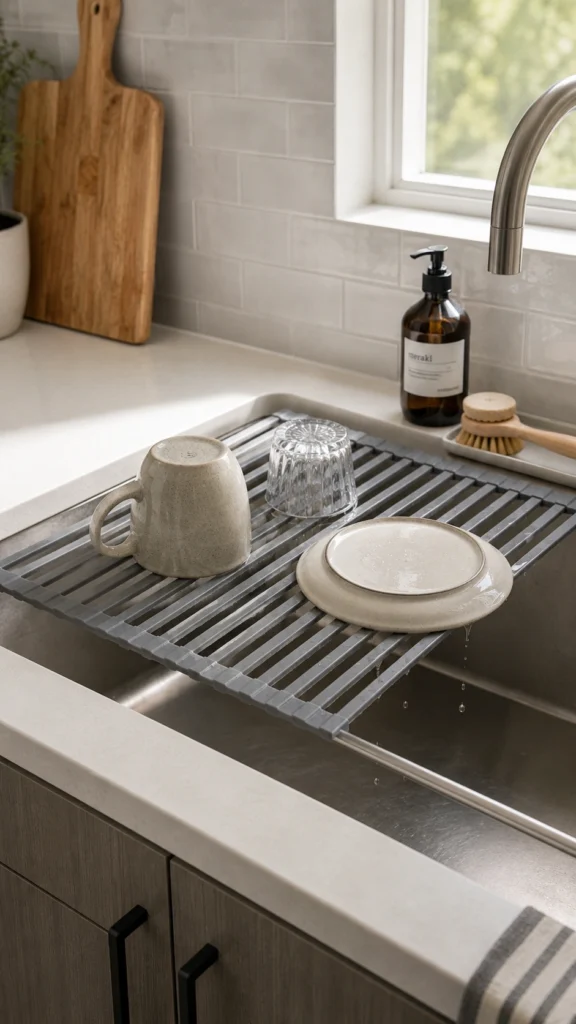
While you’re improving the sink zone, retire the countertop drying rack. It stays wet, grows mildew, and permanently occupies a foot of counter. A roll-up silicone rack sits over the sink instead, lets dishes drip straight into the basin, and rolls into a drawer when you’re done. About $15.
7. Organize the Inside of Cabinet Doors
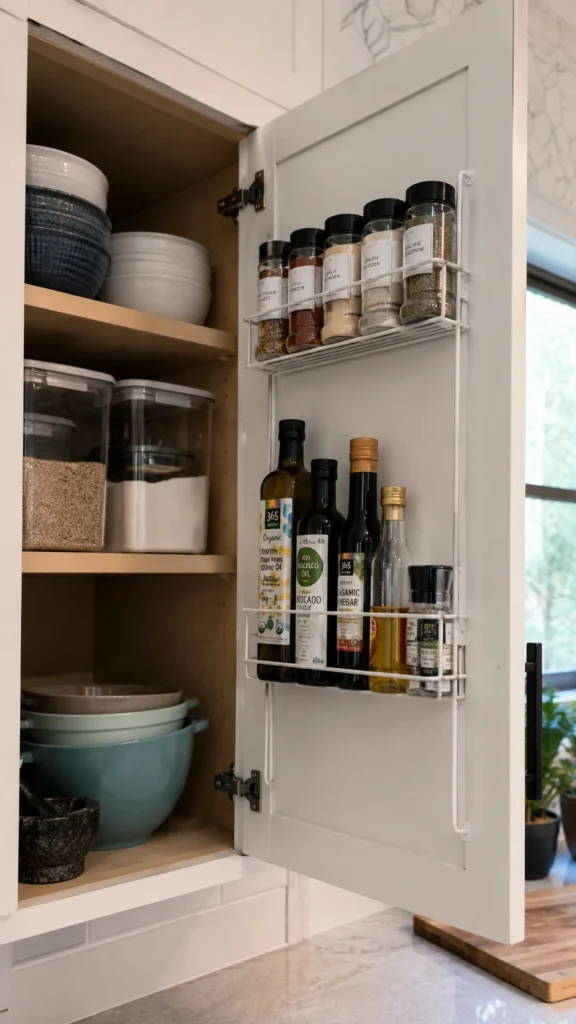
Every cabinet door in your kitchen is storage you’re ignoring. Slim door-mounted organizers hold pot lids, cutting boards, foil boxes, spice jars, or cleaning supplies, and the doors still close normally because the racks sit within the cabinet’s shadow line.
One door can also take a small corkboard for recipes and takeout menus, which keeps the fridge front clean.
8. Add Risers Inside Your Cabinets
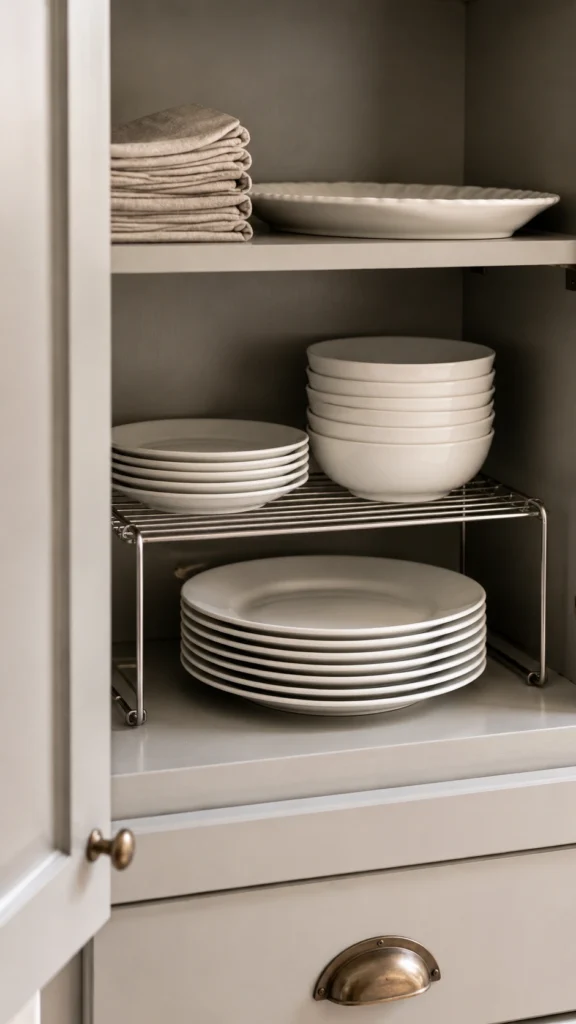
Open your dish cabinet right now and look at the air above the plate stack. Wire shelf risers turn that one shelf into two and typically double what the cabinet holds. A set of two costs $15 to $25. Buy metal, not plastic. Plastic risers bow under a full stack of dinner plates, usually within a few months.
9. Use a Slim Pull-Out Pantry
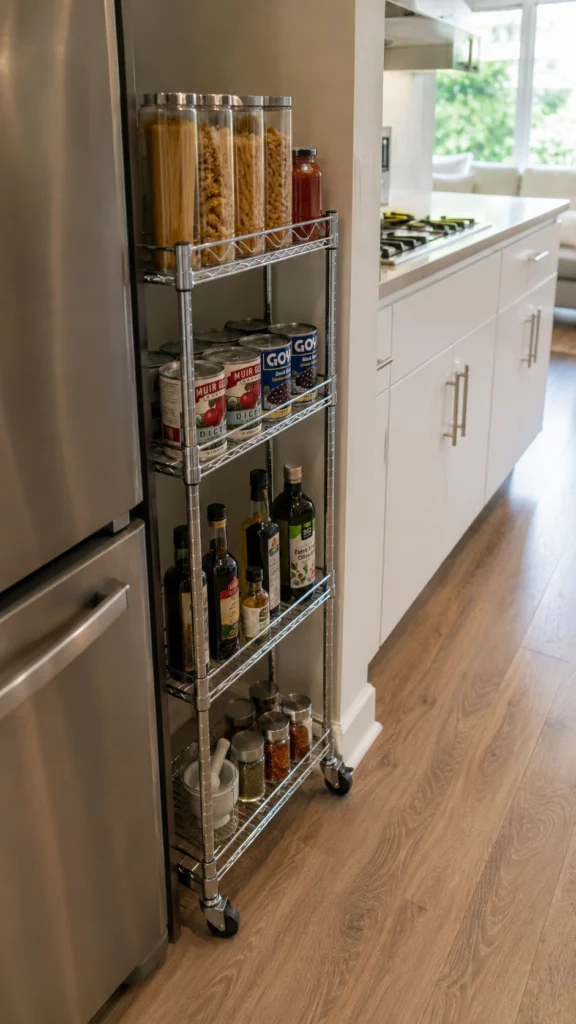
That 6-inch gap between your fridge and the wall fits a slim rolling pantry cart, usually 5 to 10 inches wide, with three or four tiers for canned goods, oils, and spices. It slides out when you need it and disappears when you don’t. For the amount of dead space it recovers, this is one of the most satisfying purchases a small-kitchen owner can make.
10. Mount a Fold-Down Table
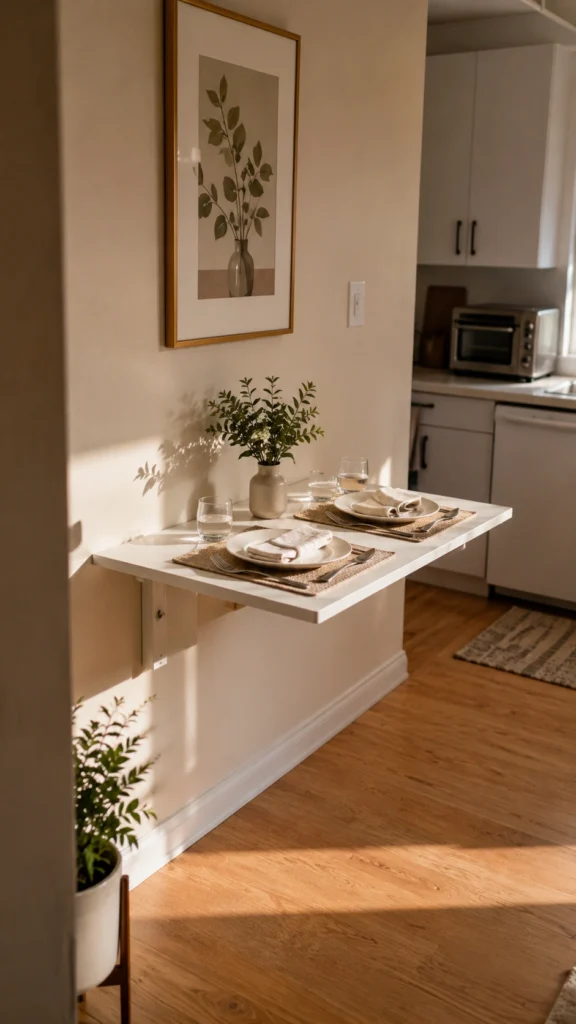
No room for a dining table doesn’t have to mean eating on the couch. A wall-mounted drop-leaf table folds flat against the wall, about 2 to 3 inches deep, and opens into a surface for two at mealtime. Mount it at 28 to 30 inches for dining height, or 36 inches if you want standing prep space instead.
On a tight budget, a sturdy folding TV tray stored beside the fridge does 70% of the job for $25.
11. Choose Light Colors Everywhere
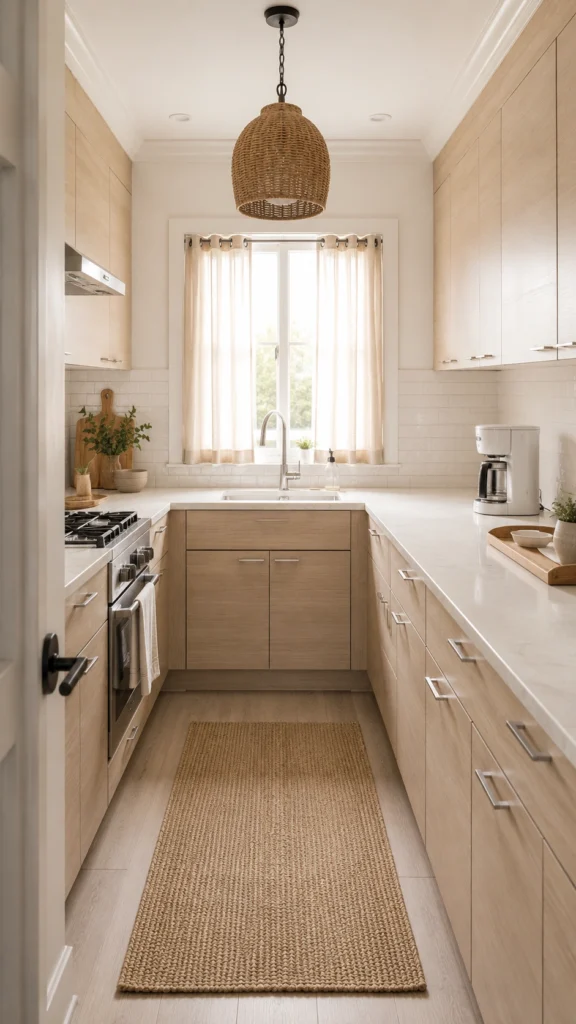
Dark surfaces absorb light, and light is what makes a small room read as spacious. Even if you can’t paint, you control everything else: white or cream dish towels, light small appliances, pale contact paper on the backsplash, warm white curtains.
Picture two identical 8×8 galley kitchens, one with dark walnut contact paper on the cabinets and one with pale oak. The pale version feels a full size larger, even though the square footage never changed. The eye can’t find hard visual stopping points, so the space reads as continuous. A kitchen dressed in light tones with one or two wood accents will always look bigger than the same kitchen in black and navy.
12. Add Under-Cabinet Lighting
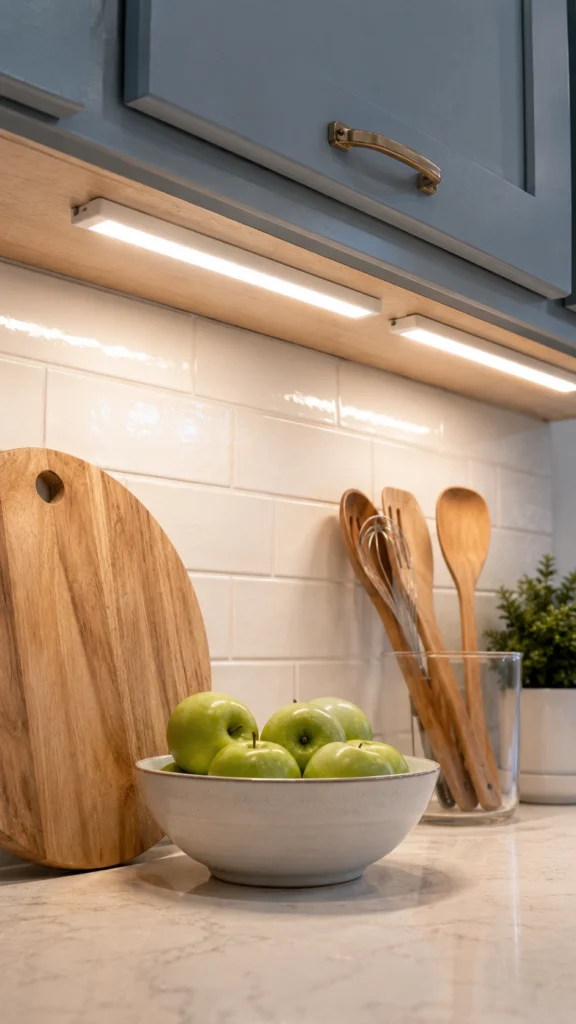
If I had to pick the cheapest fix with the biggest visual payoff, this is it. Shadows under the upper cabinets make counters feel cramped and turn vegetable chopping into a minor safety event. Stick-on LED light bars cost $20 to $30 per set, install in ten minutes with adhesive, and charge over USB. Brighter counters look bigger. That’s the whole trick.
13. Hang Your Pots and Pans
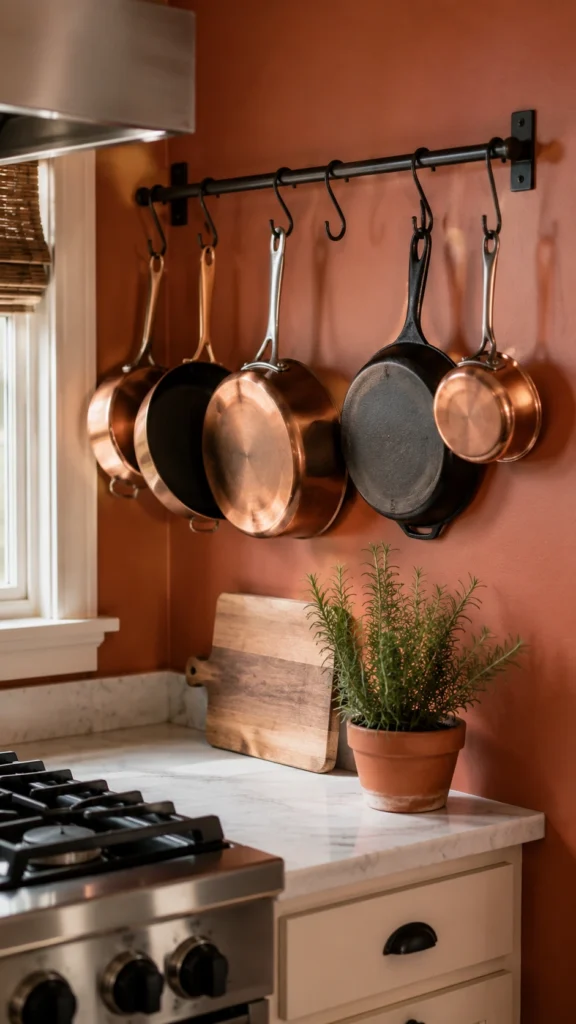
Pots are the bulkiest things you own, and stacking them in a cabinet wastes space while scratching the nonstick coating. A wall-mounted rail with S-hooks or a ceiling pot rack gets them out of the cabinets entirely. A rail system costs $20 to $40 and holds 6 to 8 pans.
One placement rule: not over the stove. Grease drifts upward and coats everything hanging there within a couple of weeks. Pick a side wall.
14. Switch to Nesting Cookware
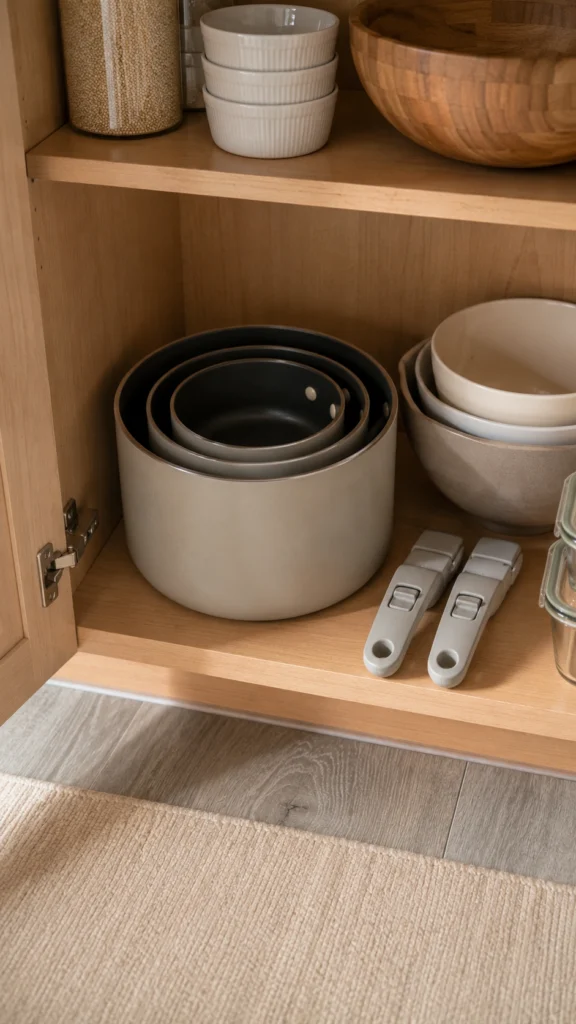
If wall storage isn’t an option, nesting pots and pans with removable handles stack into a single unit the size of one large pot. Brands like Magma and several cheaper alternatives fit a 10-piece set onto one cabinet shelf. Traditional cookware sprawls across two full cabinets for the same coverage, so the trade is easy to justify.
15. Divide Every Drawer
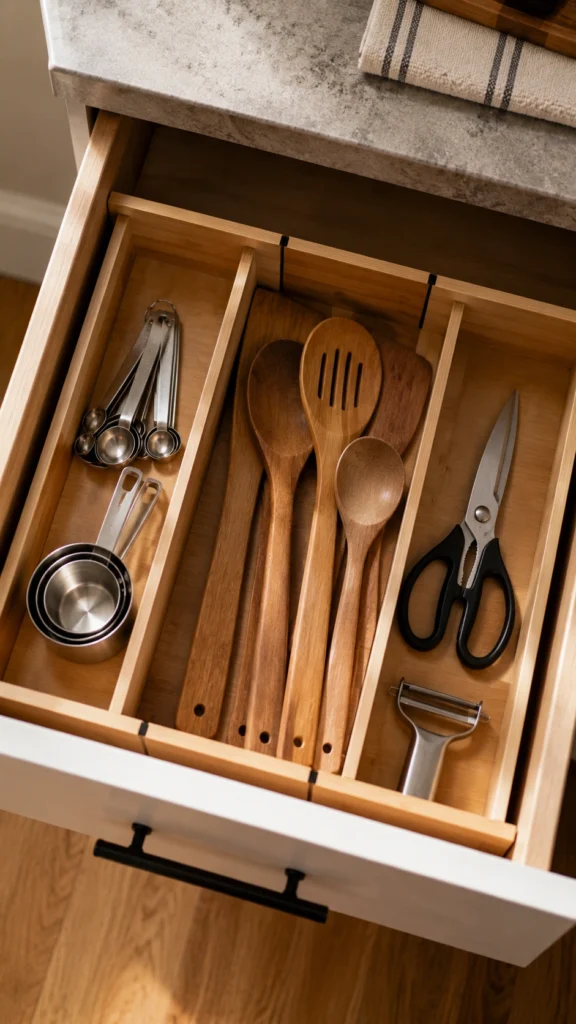
An undivided drawer holds about half of what a divided one does. Everything shifts, overlaps, and buries itself, so you dig past the turkey baster every morning to find a spoon. Adjustable bamboo dividers, $15 to $25 per set, keep utensils flat and visible. Give one drawer to daily tools and another to occasional gear, and the digging stops.
16. Put Magnetic Spice Jars on the Fridge
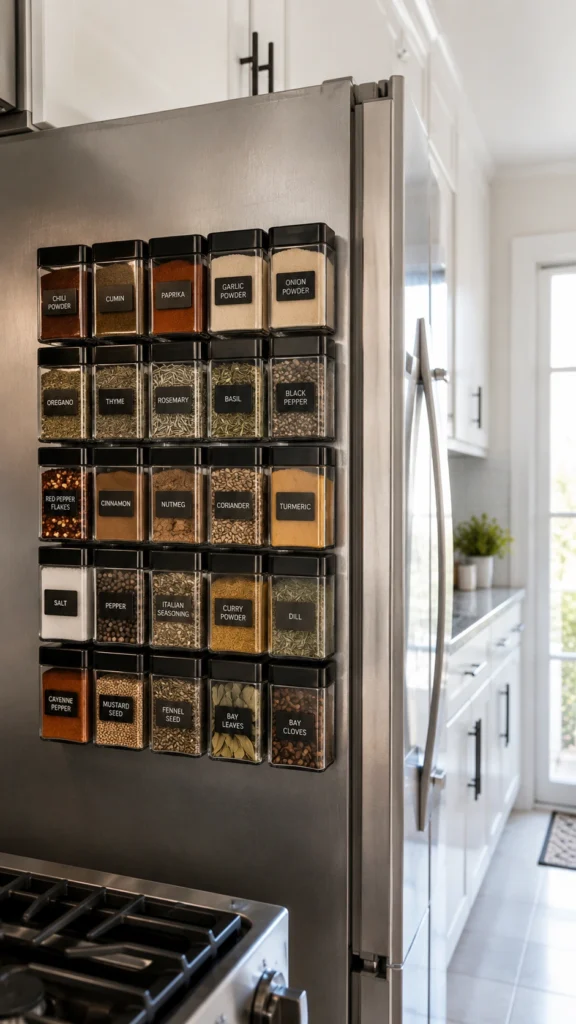
Your fridge is a giant vertical steel plate. Magnetic spice jars stick to the side of it, free an entire cabinet shelf, and keep every label visible. A 12-jar set runs about $25.
This works best when the fridge side faces your cooking zone, so you can grab cumin mid-recipe without opening a single door. If the fridge sits across the room from the stove, spices belong on a door rack near the cooking zone instead.
17. Use Tension Rods Under the Sink
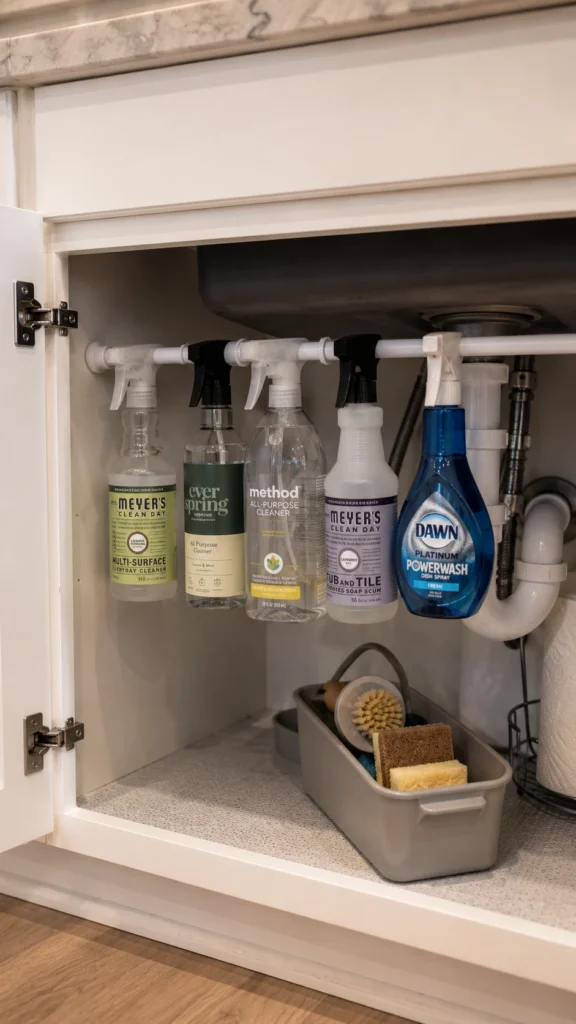
The under-sink cabinet is chaos in 90% of apartments. One horizontal tension rod fixes most of it: hang spray bottles by their trigger heads and the cabinet floor clears for a small bin of sponges and brushes. Total cost, about $8. Total install time, 30 seconds. Some hacks earn their reputation.
18. Corral Countertop Essentials on a Tray
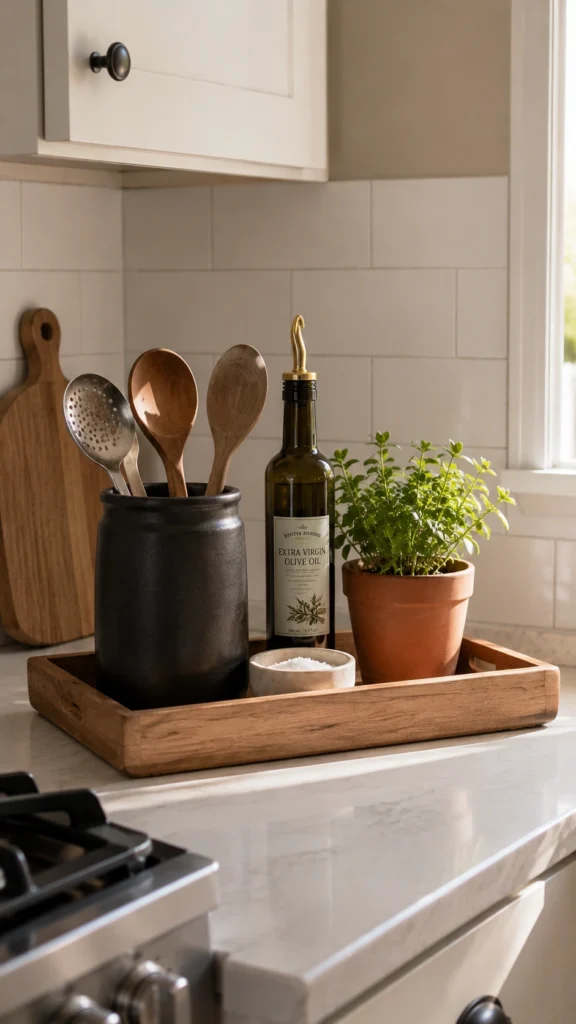
Some things have to live on the counter: the olive oil, the salt, the utensil crock. Left loose, they read as clutter. Grouped on a single tray, the same items read as a styled arrangement. This changes how tidy the kitchen feels without storing a single extra item, and you can lift the whole tray to wipe the counter in one move.
19. Declutter the Counter Ruthlessly
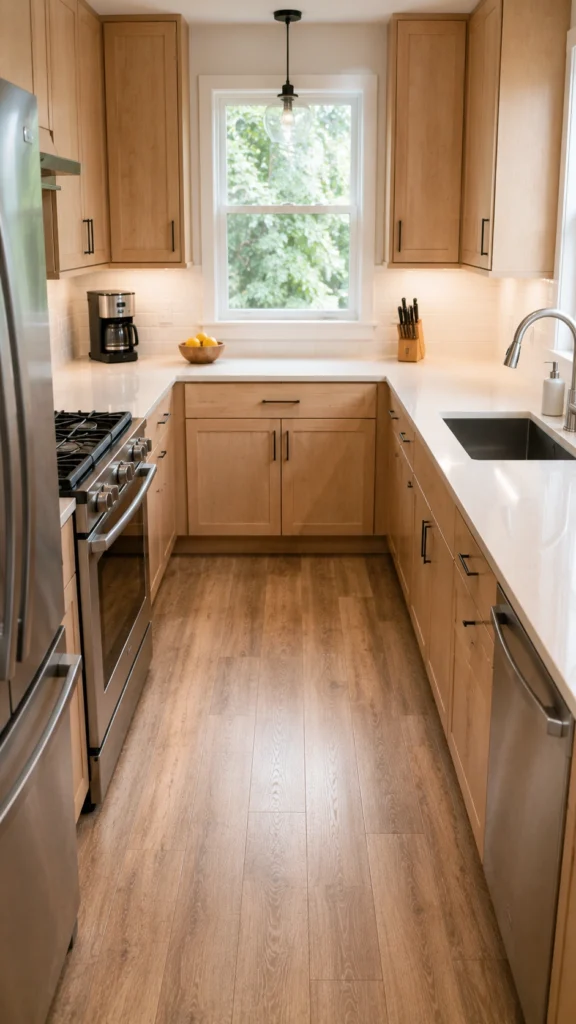
This is the uncomfortable one. The stand mixer you use twice a year is occupying your best workspace for free. Anything you don’t use at least weekly comes off the counter and moves to a closet, the top of the fridge, or under the bed if it comes to that.
Personally, I’d do this before buying anything else on this list, because a clear counter makes a small kitchen feel double its size and costs nothing. Take a photo of your counter first, then remove items until only daily-use pieces remain. The before and after comparison usually settles the argument with yourself.
20. Buy Multi-Function Appliances
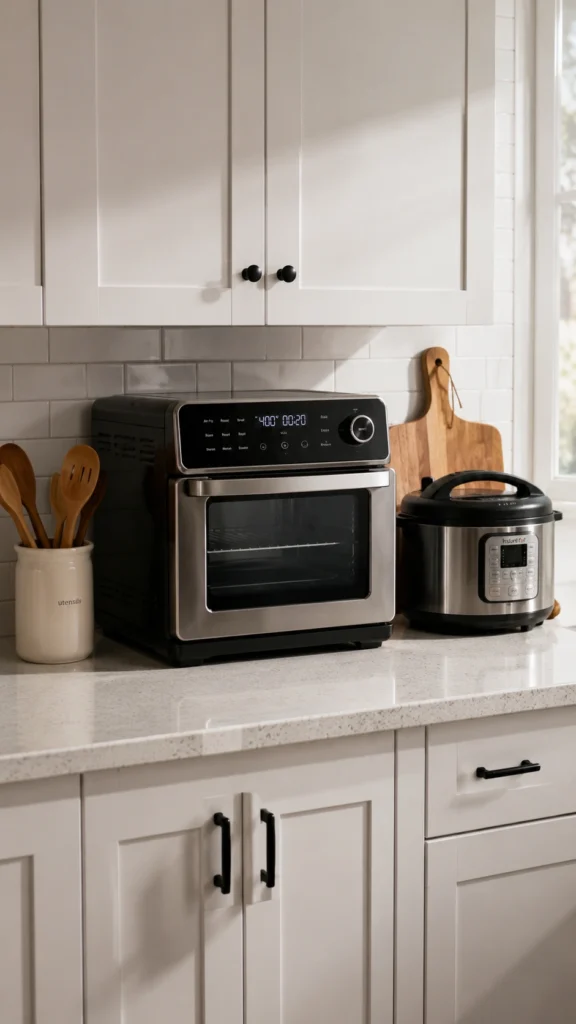
One appliance doing five jobs beats five appliances doing one job each. The swaps that actually work:
- A multi-cooker (Instant Pot style) replaces a slow cooker, rice cooker, and steamer
- An air fryer toaster oven combo replaces a toaster, a standalone air fryer, and half your oven use
- An immersion blender with attachments replaces a full blender, whisk, and small food processor
Each swap frees a full cabinet shelf or a chunk of counter. The trade-off is honest, though: a combo appliance rarely matches a dedicated one at its single job. A serious baker should keep the stand mixer and give up the blender instead.
21. Use the Top of Your Cabinets
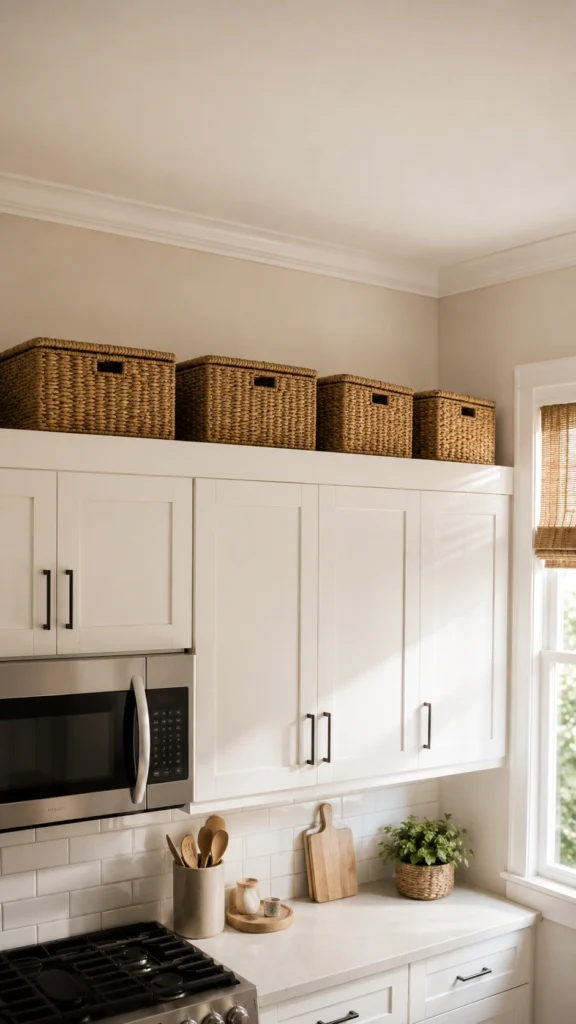
If your upper cabinets stop short of the ceiling, that gap is bonus storage. Matching woven baskets up there hold seasonal items, extra dish towels, or the appliances you exiled in idea #19. The matching part matters. Identical baskets look intentional, while a jumble of cardboard boxes looks like a storage unit. Label the fronts, because you will forget what’s inside by month three.
22. Hang Mugs on Hooks
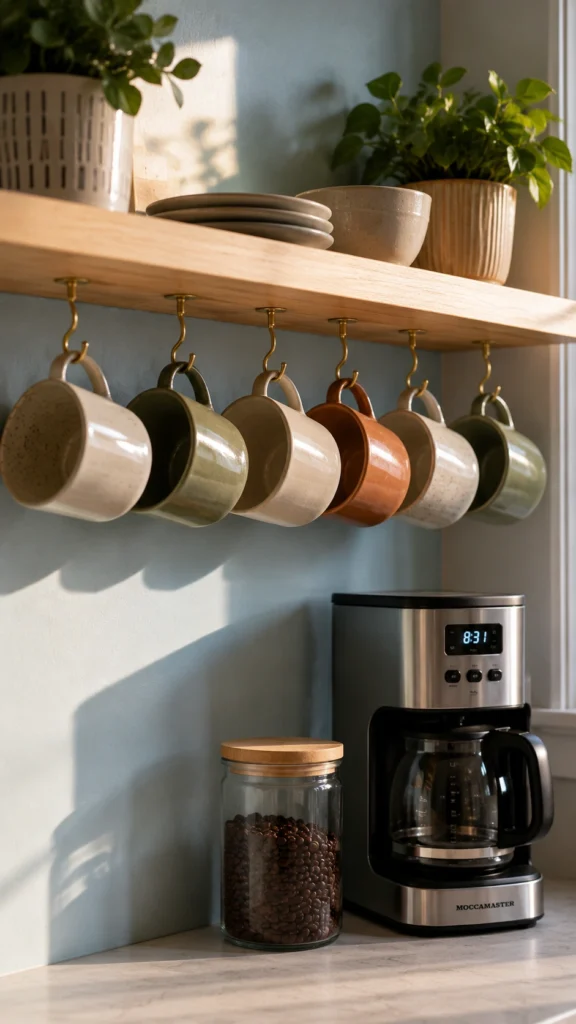
Why does everyone own fifteen mugs? Nobody knows, but they don’t stack well and they eat cabinet space out of proportion to their usefulness. Screw-in cup hooks under a shelf or cabinet hold 6 to 8 mugs in space that was doing nothing. A pack of hooks costs a couple of dollars, and the hanging row adds a cafe look that’s hard to beat for the price.
23. Add a Mirror or Glossy Backsplash
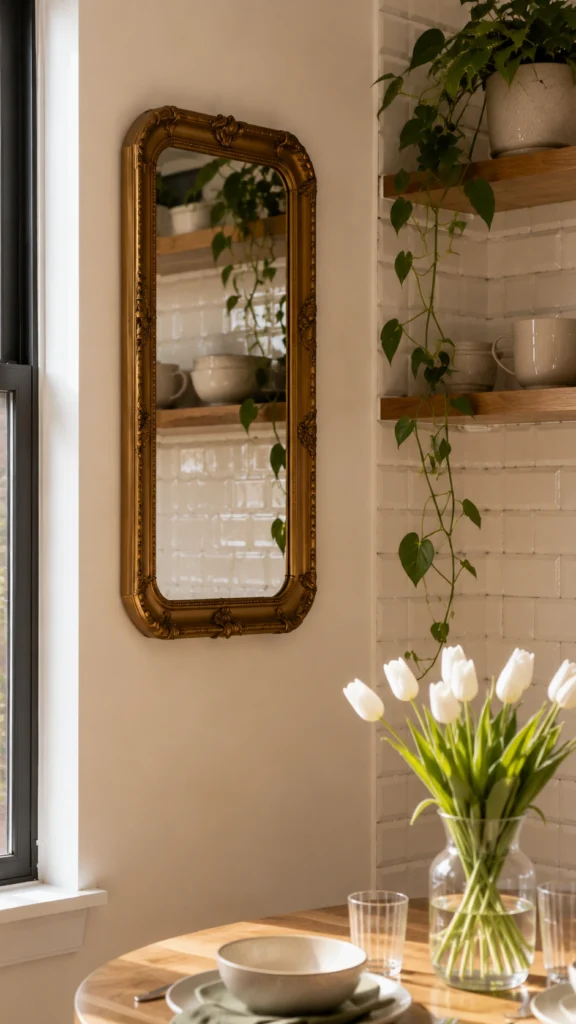
Designers hang mirrors in small dining rooms because reflective surfaces bounce light and visually double a space. The kitchen version is a peel-and-stick glossy tile backsplash or a small framed mirror on a wall away from the splash zone. Glossy subway-style peel-and-stick tile costs $8 to $12 per square foot, installs in an afternoon, and peels off when you move out. Matte surfaces absorb light. Glossy ones return it to the room.
24. Create Zones for Everything
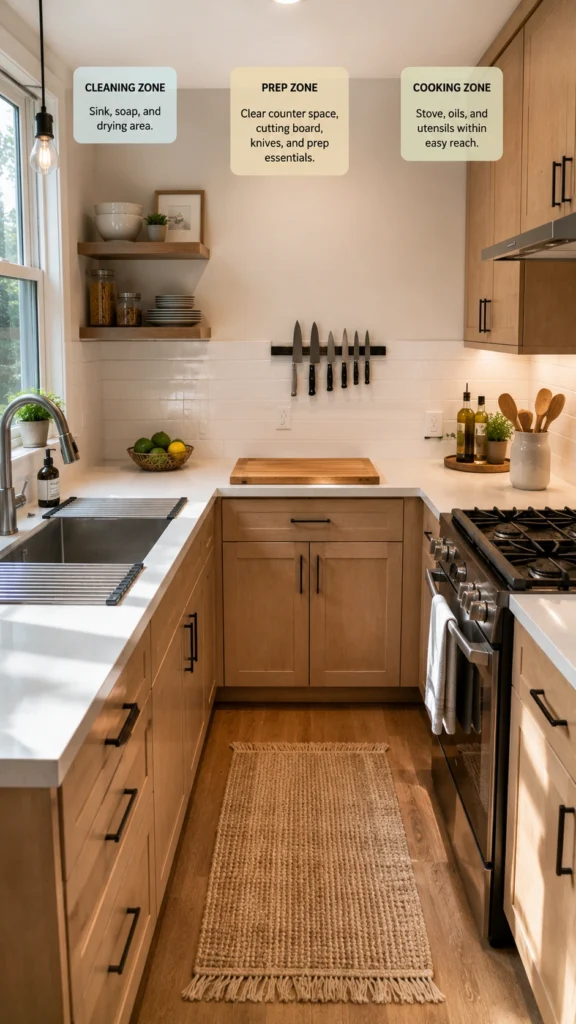
Professional kitchens run on stations, and yours can too, just smaller. Set up three:
- Prep zone: cutting board, knives, and mixing bowls near your largest counter section
- Cooking zone: oils, spices, and utensils within arm’s reach of the stove
- Cleaning zone: soap, sponges, and drying gear at the sink
When every item lives where you use it, you stop crisscrossing the kitchen and stop leaving things out “for now.” A zoned kitchen stays organized because putting things away requires zero extra steps. This costs nothing, since you’re only relocating what you already own, which makes it the right first project before you spend a dollar on anything else here.
How to Choose the Right Small Apartment Kitchen Ideas for Your Layout
Twenty-four options can feel like a lot, so match your picks to the problem that actually bothers you.
Best Small Apartment Kitchen Ideas for Renters
If your landlord won’t allow holes in the wall, start here:
- Tension rods, over-door organizers, and shelf risers (zero installation)
- Rolling carts and slim pantry carts (freestanding)
- Peel-and-stick backsplash and contact paper (removable)
- Adhesive LED lighting (no wiring)
Best Ideas for Almost No Counter Space
If your counter is smaller than a bath towel, prioritize the over-the-sink cutting board, the roll-up drying rack, the magnetic knife strip, and the ruthless declutter. Those four together can reclaim 3 to 4 feet of usable surface for under $60.
Best Ideas for No Storage
If cabinets are the bottleneck instead, go vertical first: open shelving, pegboard, pot rails, and cabinet-top baskets. Then double what you already have with risers, door organizers, and drawer dividers.
Whatever you pick, start with one or two changes rather than ordering everything at once. Live with each fix for a week, notice which problem complains loudest next, and solve that one. Kitchens improve in layers, not in a single delivery.
Frequently Asked Questions
How do you make a small apartment kitchen look bigger?
Three moves do most of the work: clear the counters, brighten the light, and lighten the colors. Under-cabinet LEDs remove the shadows that make counters feel cramped, a glossy backsplash bounces light back into the room, and a decluttered counter gives the eye somewhere calm to land. All three together cost under $100.
What should stay on the counter in a small kitchen?
Only items you use daily: usually the coffee setup, a utensil crock, and maybe a cutting board stored upright against the backsplash. Everything else earns cabinet or closet space. If that sounds harsh, try it for two weeks. People rarely go back to the cluttered version voluntarily.
How do you organize a small apartment kitchen with no pantry?
Build a pantry from pieces: a slim rolling cart in the fridge gap for cans and oils, door-mounted racks for spices and wraps, risers to double a cabinet shelf, and labeled baskets on top of the cabinets for backstock. Together those four hold about as much as a small pantry closet.
What are the best small apartment kitchen ideas for renters on a budget?
Tension rods, shelf risers, drawer dividers, a roll-up drying rack, and an over-the-sink cutting board. All five combined cost roughly $80, none require tools, and each one either creates counter space or doubles existing storage. If you have another $25, add stick-on LED lights, because better lighting improves every other change you make.
Final Thoughts
Most cramped kitchens suffer from the same three problems: wasted vertical space, counters occupied by rarely used stuff, and storage that’s half air. Every idea on this list attacks one of them.
Pick the fix that annoys you most right now. Maybe that’s the knife block eating your counter, or the pot avalanche every time you open a cabinet. Solve that one thing this weekend for $20 or less, and you’ll feel the difference the next time you cook. Momentum handles the rest.
Your kitchen may be small, but small and smart beats big and messy every single time.



Pingback: 15 Fall Candle Decor Ideas for an Easy Autumn Refresh - Caliora Living